
AlmaLinuxのバージョン9.0をWindows10のVMware仮想マシン上にインストールする方法を解説します。
少し前のバージョンですが、AlmaLinux8.4をWindows10のVirtualBox上にインストールする方法は下記をご覧下さい。

環境
AlmaLinuxをインストールする環境です。
- ホストマシン
- Windows10 Pro 64bit (21H2)
- VMWare Workstation 16 Player (16.2.4)
- ゲストマシン(仮想マシン)
- AlmaLinux 9.0
イメージファイルの入手
下記URLの公式サイトより、OSのイメージファイルをダウンロードします。

「ダウンロード」をクリックします。
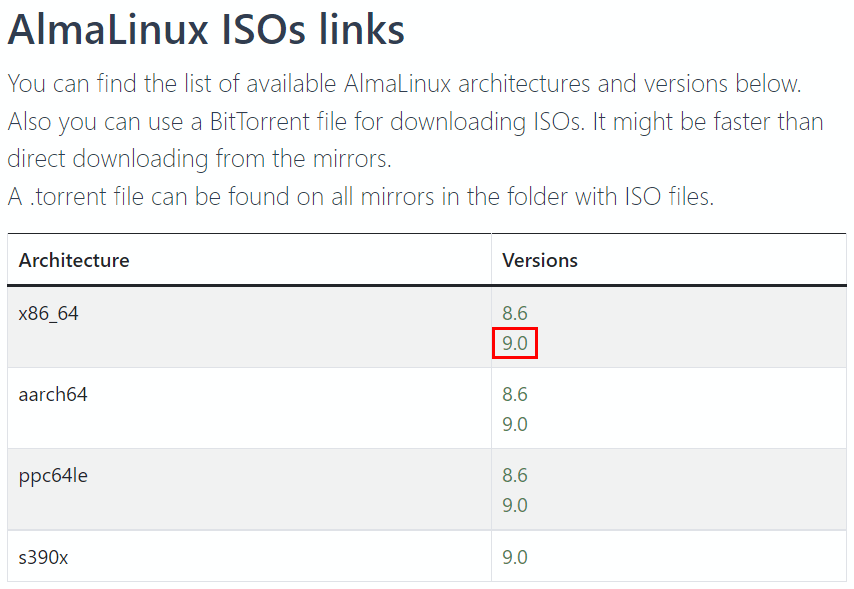
Architectureが「x86_64」の、Versionsが「9.0」をクリックします。
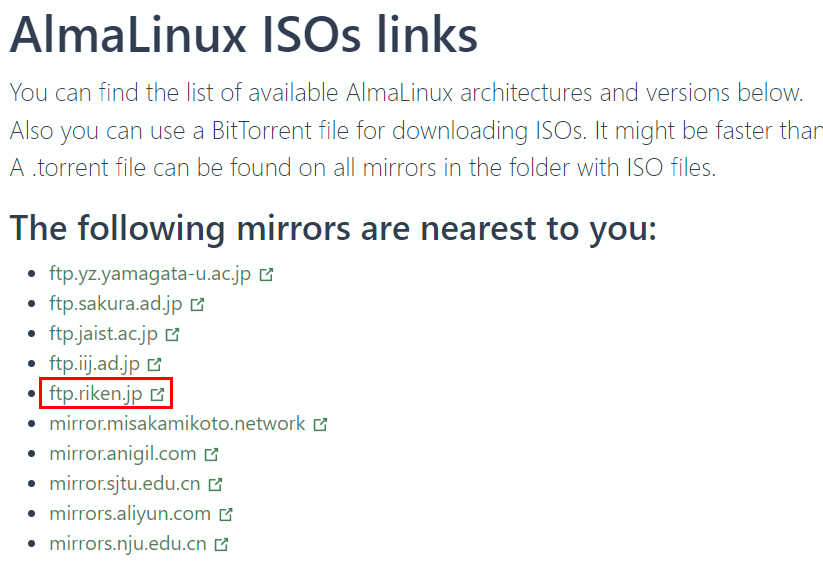
「ftp.riken.jp」をクリックします。
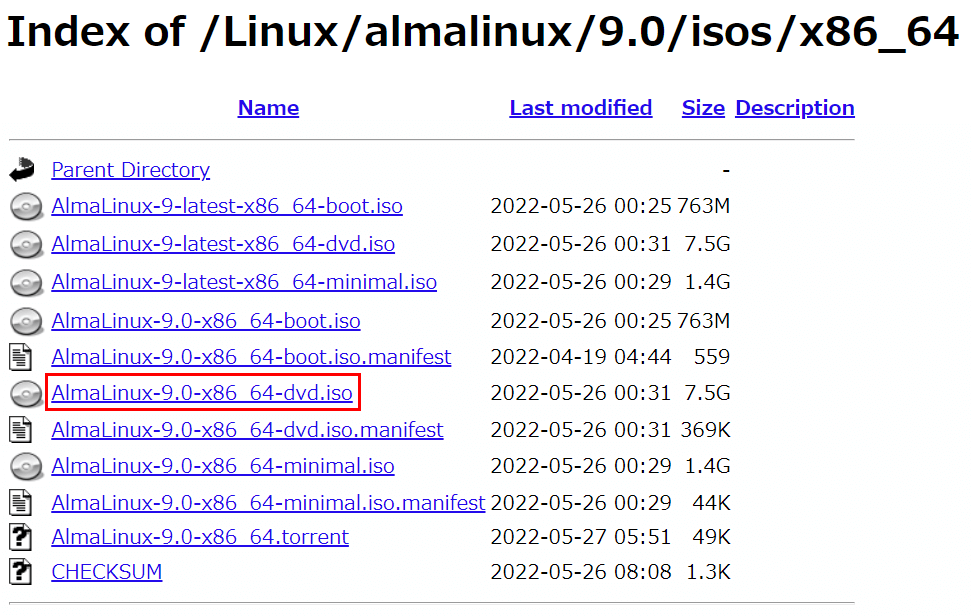
「AlmaLinux-9.0-x86_64-dvd.iso」をクリックします。
クリックと同時にファイルのダウンロードが開始されます。

仮想マシンの作成
次に仮想マシンを作成して、そこへインストールします。
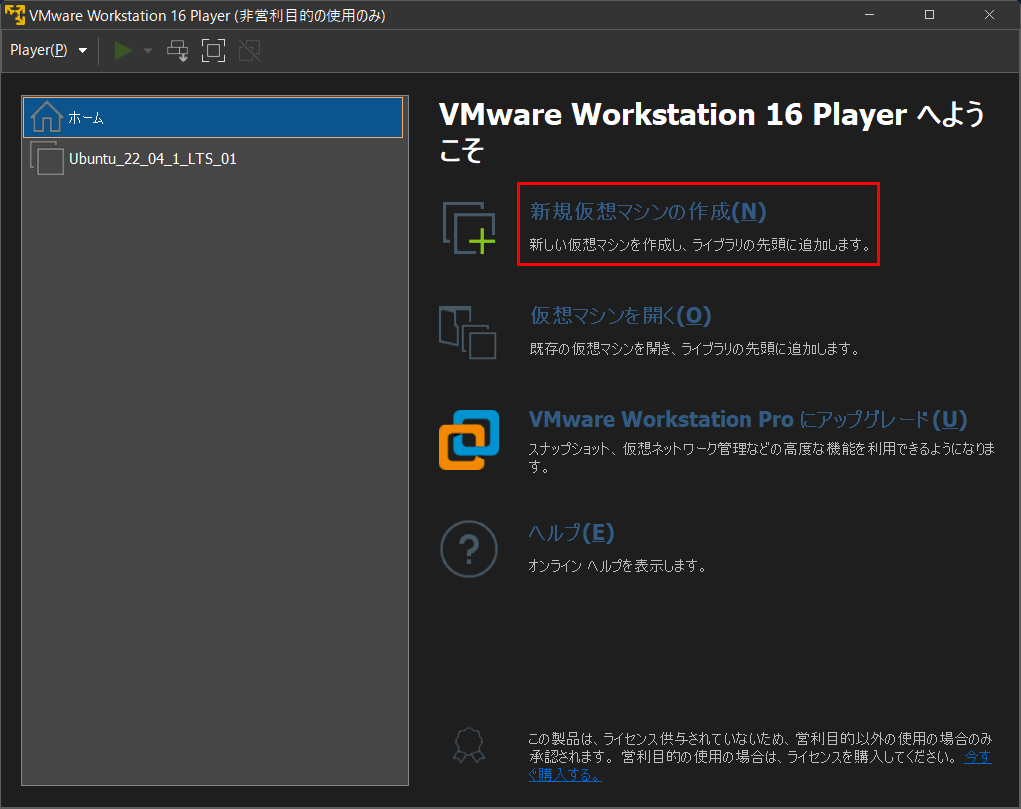
まず、VMware Workstation 16 Player(以降はVMwareと表記)を起動し、
「新規仮想マシンの作成」をクリックします。
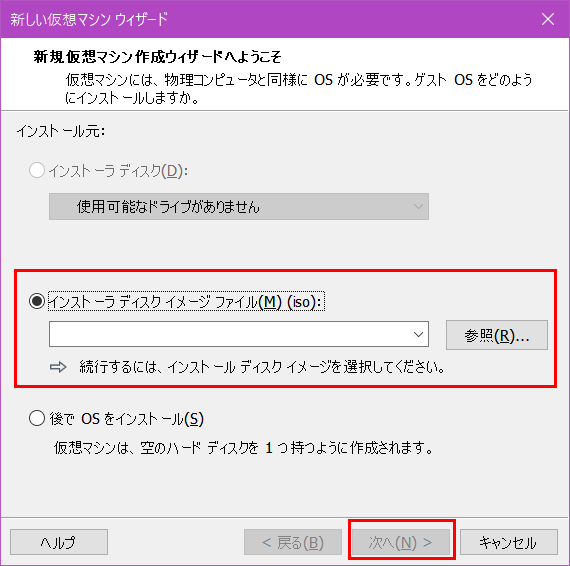
新しい仮想マシンウィザードが開かれるので、「インストーラディスクイメージファイル」から、先ほどダウンロードしたイメージファイル(AlmaLinux-9.0-x86_64-dvd.iso)を選択して下さい。
選択後は「次へ」をクリックします。
次にゲストOSを選択する画面が開かれます。
AlmaLinuxを選択したいのですが、選択肢にありません。
なので、選択肢の中で最も近いと思われる「Linux」の「Red Hat Enterprise Linux 8 (64ビット)」を選択します。
選択後は「次へ」をクリックします。

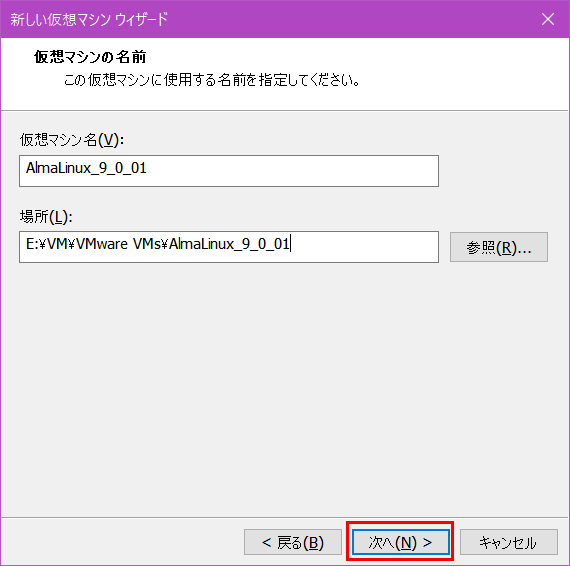
仮想マシン名と格納先を設定する画面が開かれます。
任意で設定を行い、「次へ」をクリックします。
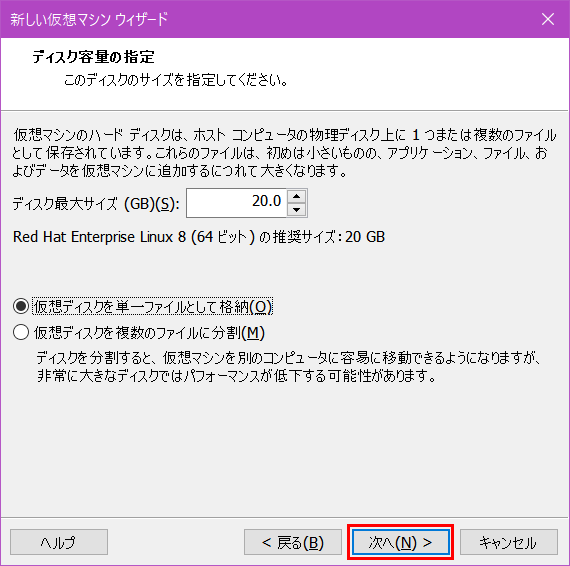
ディスク容量の指定を行います。
ディスク最大サイズはデフォルトの「20.0 GB」で、
ファイルの形式は「仮想ディスクを単一ファイルとして格納」を選択しています。
この辺りはお好みで設定して下さい。
各項目の入力後、「次へ」をクリックします。
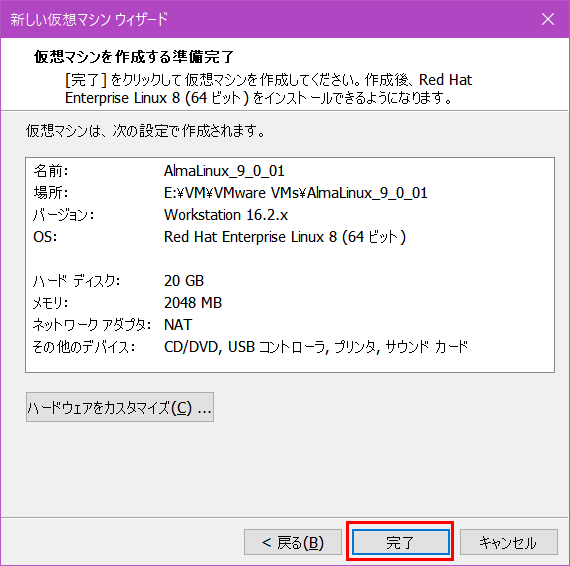
仮想マシンを作成する準備完了画面では、そのまま「完了」をクリックして下さい。
インストール
前項「仮想マシンの作成」の続きになります。
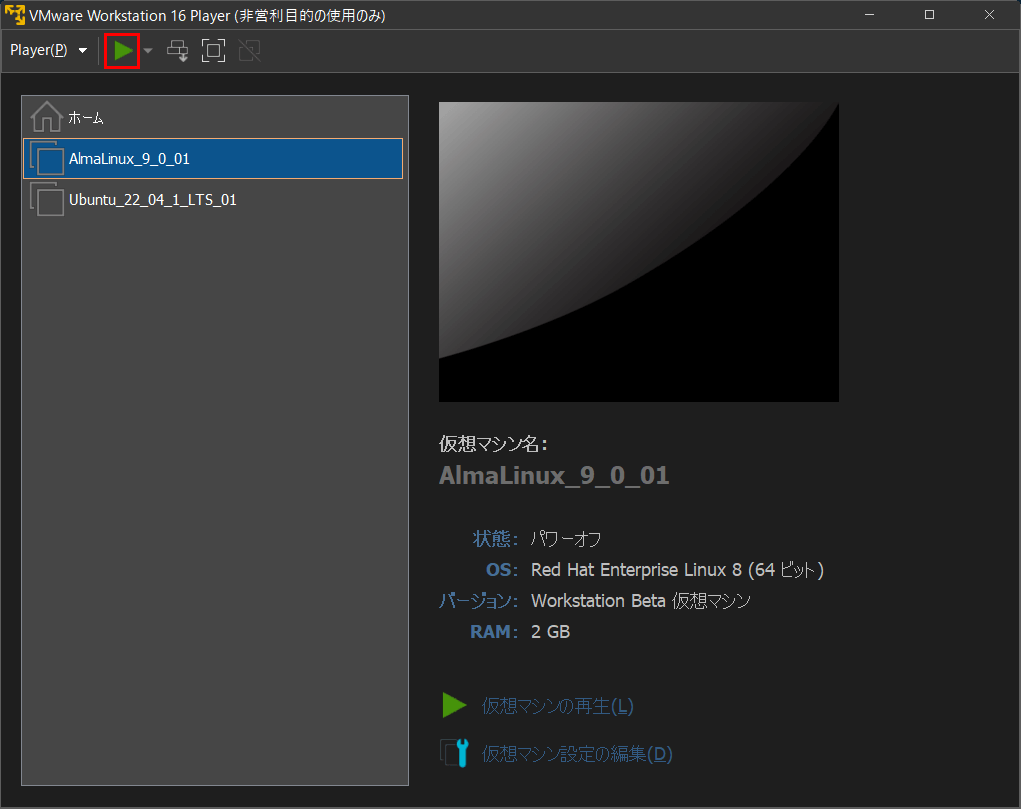
作成した仮想マシンを選択し、「パワーオン(緑の→マーク)」をクリックします。
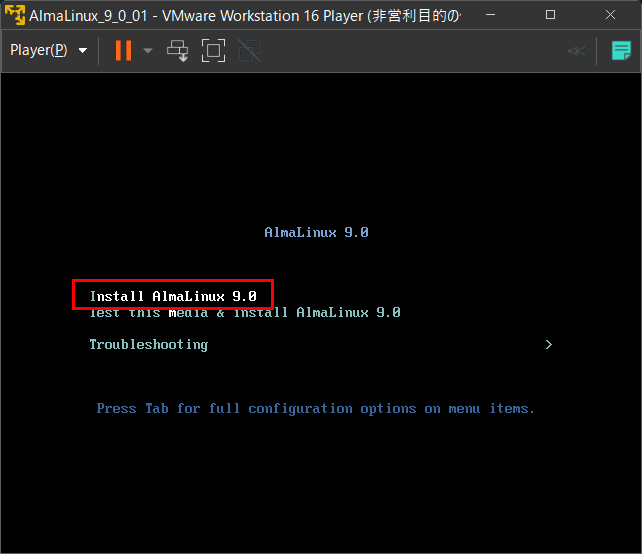
「Install AlmaLinux 9.0」を選択し、「Enter」キーを押下します。
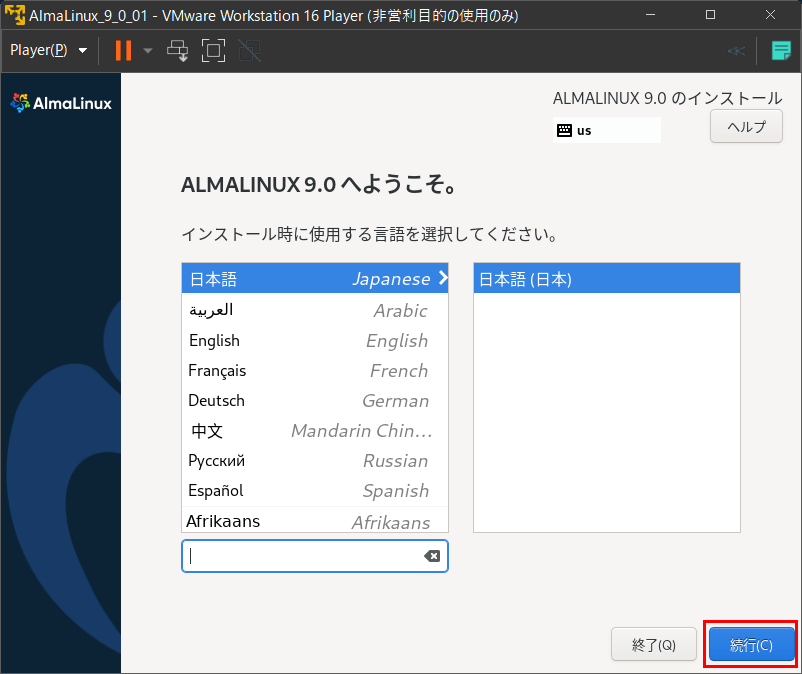
使用する言語を設定する画面が開かれるので、
「日本語」を選択して、「続行」をクリックします。
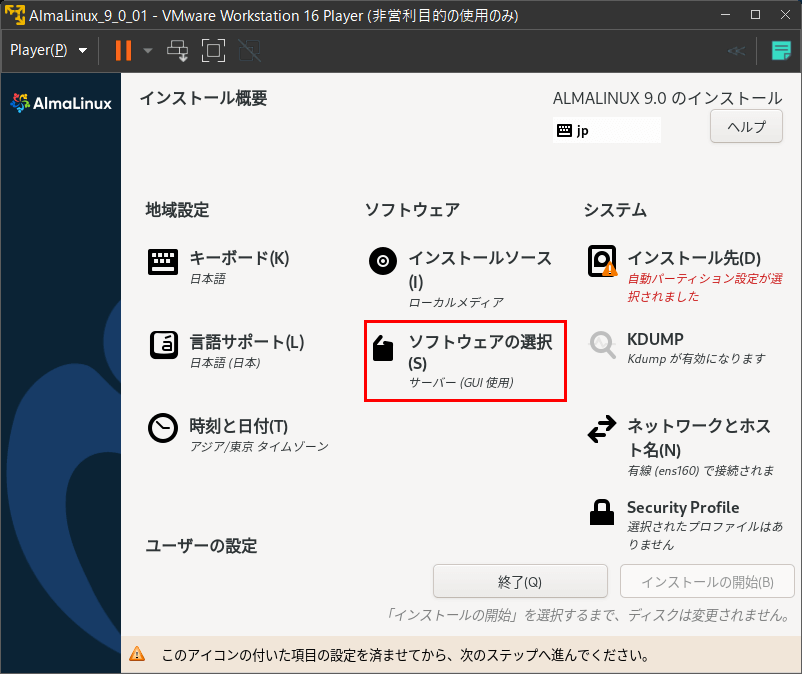
インストールの設定を行います。
まず、「インストール先」をクリックします。
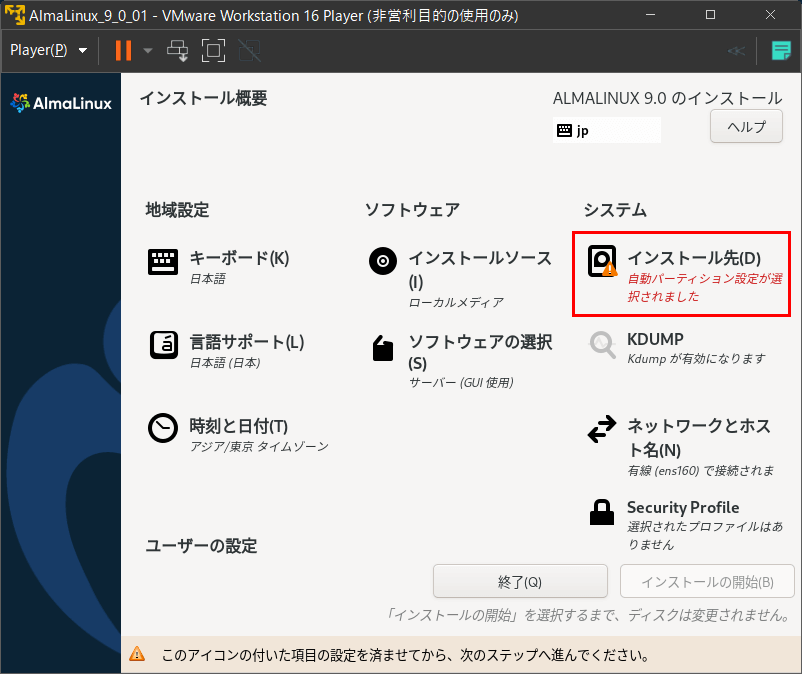
インストール先を設定する画面が開かれるので、
そのまま「完了」をクリックします。

「root パスワード」をクリックします。
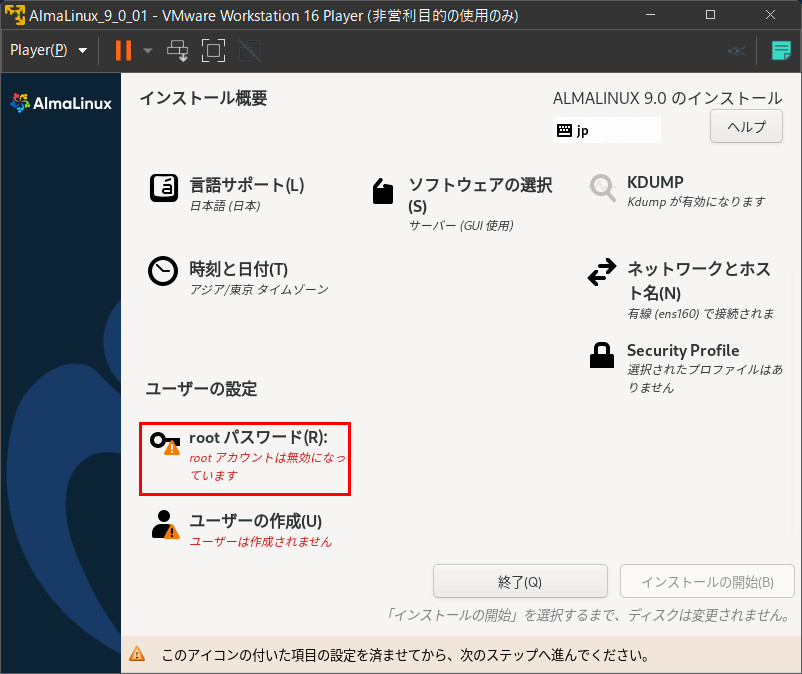
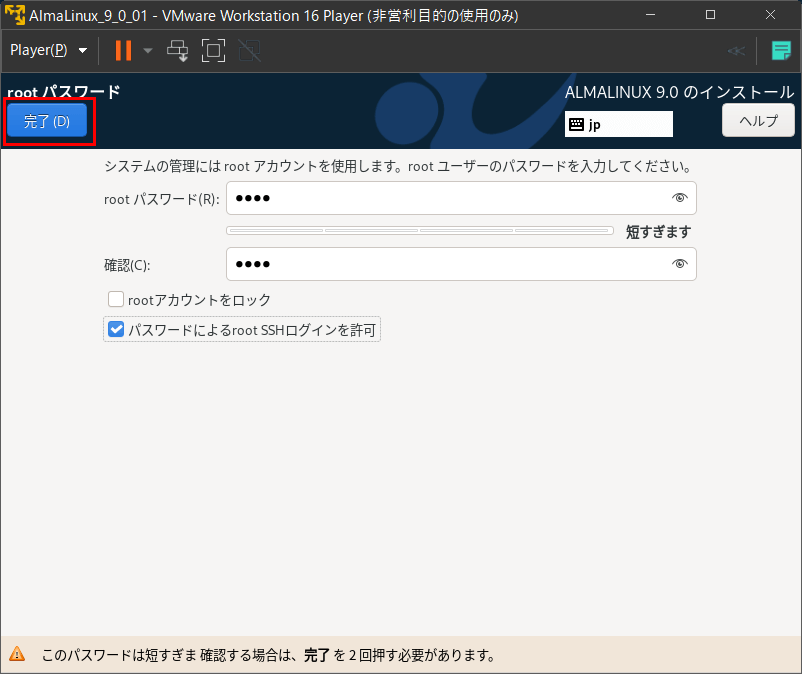
rootユーザーのパスワードを設定する画面が開かれるので、
パスワードを設定し、「完了」をクリックします。
ちなみに、私はTeraTermからrootユーザーで操作したいので、「パスワードによるroot SSHログインを許可」にチェックを入れています。
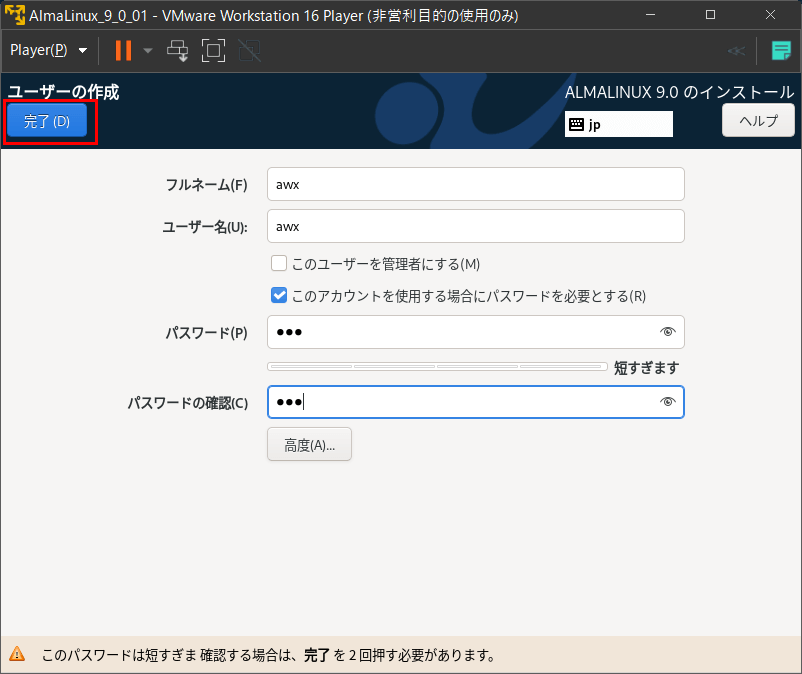
「ユーザーの作成」をクリックします。
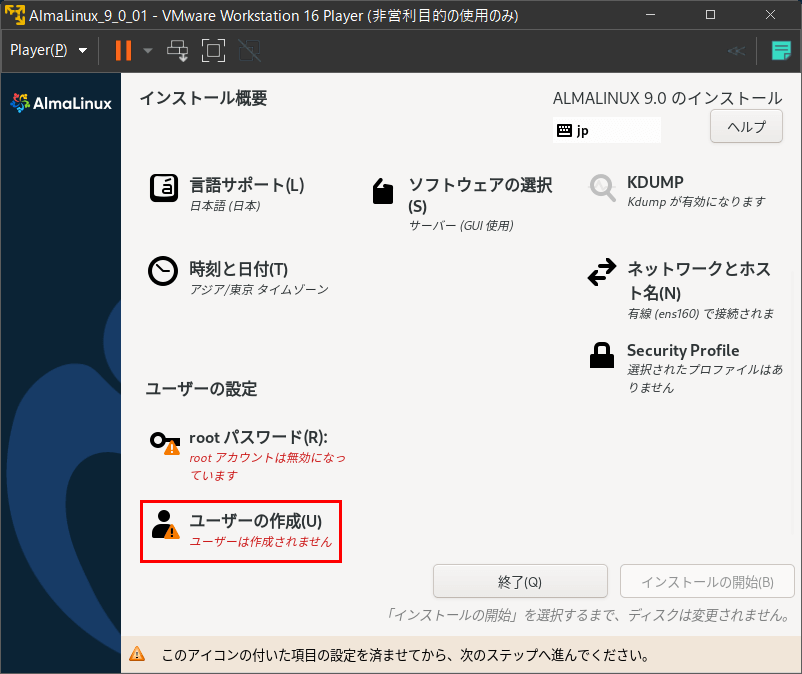
ユーザーの作成画面が開かれるので、
各項目を入力し、「完了」をクリックします。
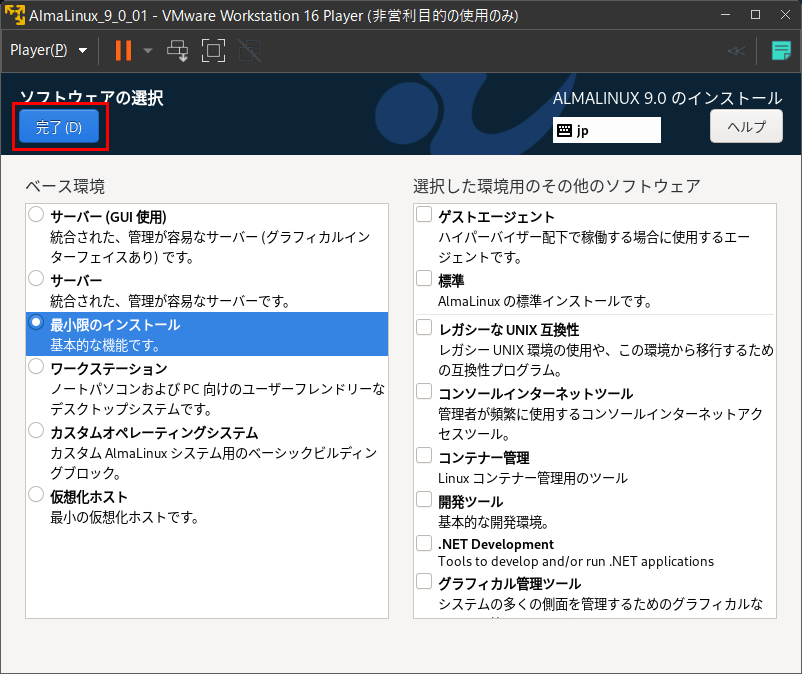
「ソフトウェアの選択」をクリックします。
「最小限のインストール」にチェックを付けて、「完了」をクリックします。
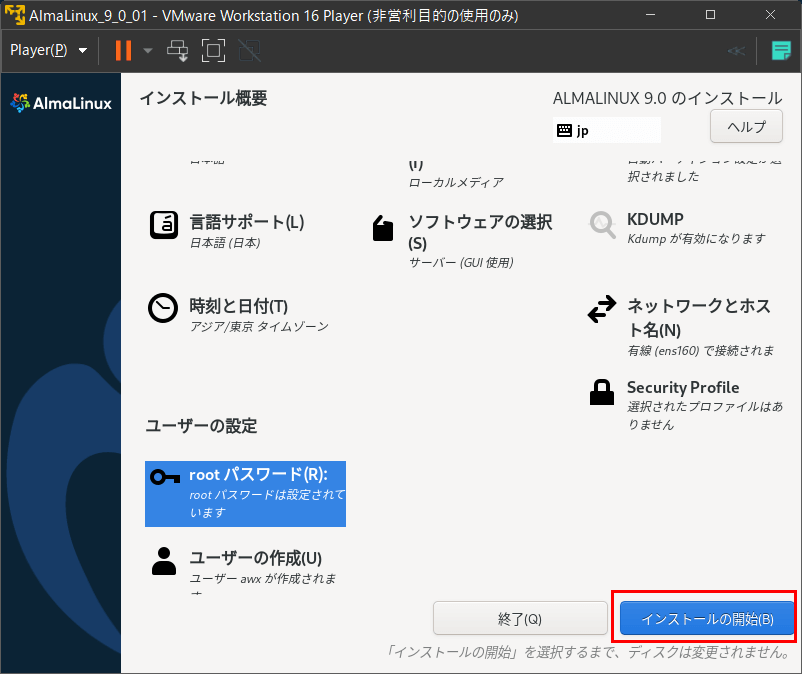
「インストールの開始」をクリックします。
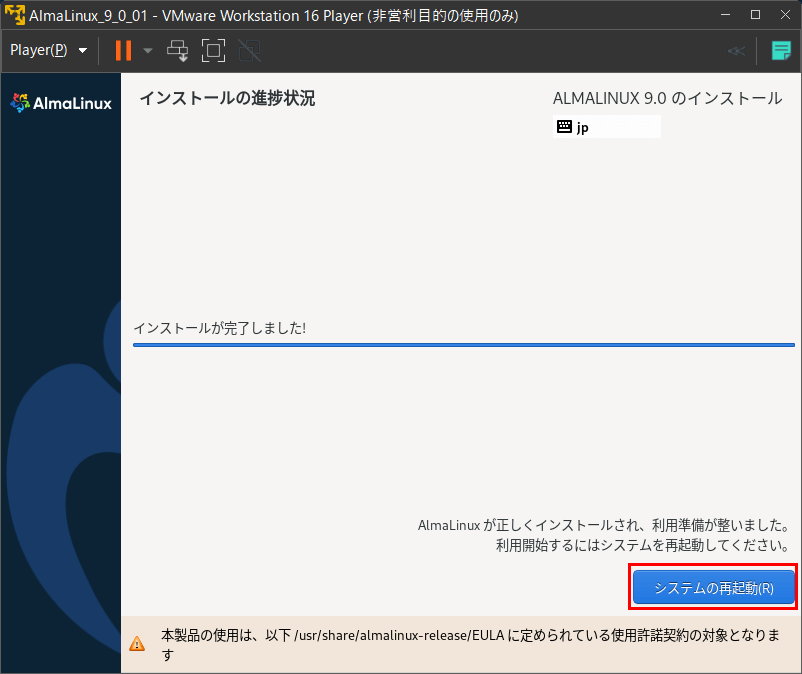
環境にもよりますが、数分でインストールが完了し、再起動を求められるので、「システムの再起動」をクリックします。
再起動後、ログイン画面が表示されるので、インストール時に作成したユーザーでログインします。
正常にログイン出来れば、インストールは完了となります。

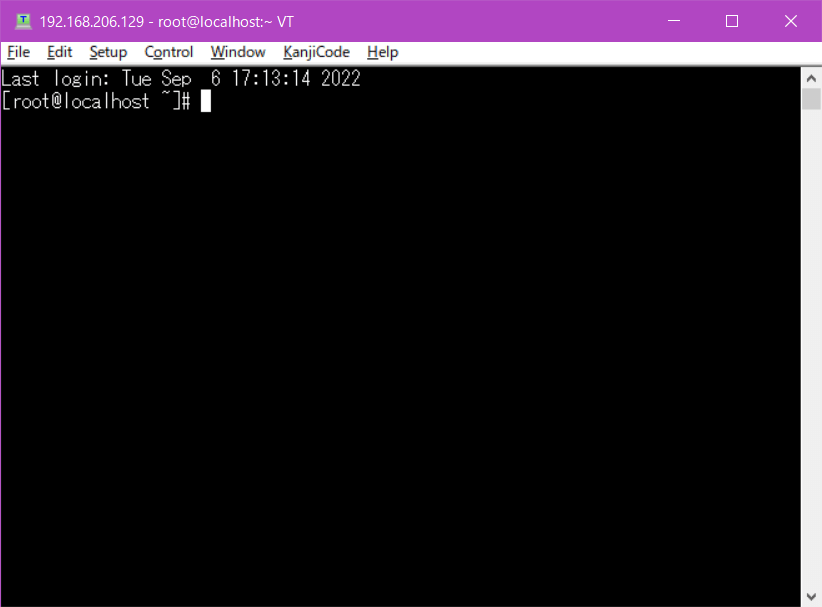
TeraTermから、rootユーザーでログイン出来るか試してみました。
下記のように無事にログイン出来ました。

![]()


コメント