
Windows11環境に、Vagrant VMware Utility 1.0.21をインストールする方法を解説します。
はじめに・環境
「Vagrant VMware Utility」とは、Vagrantで、VMwareを操作するために必要なツールです。
本記事では、現時点(2023/1/3)で最新のバージョン[1.0.21]をインストールする方法を説明します。
- OS:Windows 11 Pro (21H2)
- Vagrant:バージョン 2.3.4
- Vagrant VMware Utility:バージョン 1.0.21
Vagrant VMware Utilityの他に、Vagrantを使用して、VMwareを操作するための関連記事です。


インストーラーのダウンロード
まず、Vagrantのインストーラーをダウンロードします。
下記から、Vagrantの公式サイトにアクセスします。

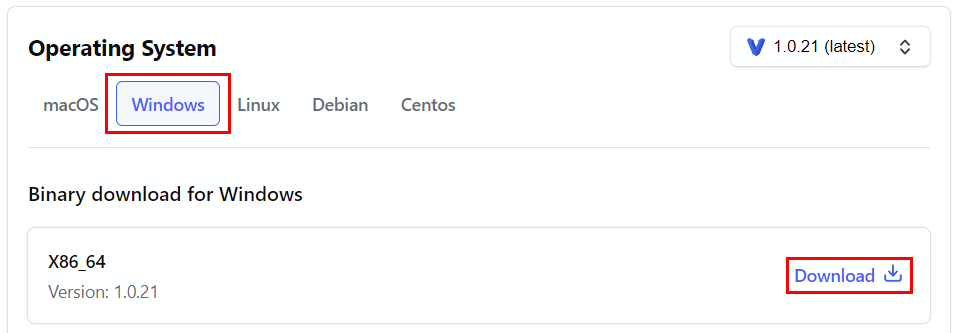
今回は、Windows11にインストールするので、「Operating System」から「Windows」を選択します。
選択後は「Download」をクリックすることでインストーラーがダウンロードされます。
・ダウンロードファイル:vagrant-vmware-utility_1.0.21_x86_64.msi
以上でインストーラーのダウンロードは完了です。
続いて、インストールしていきましょう。

インストール
ここでは、インストールを行います。
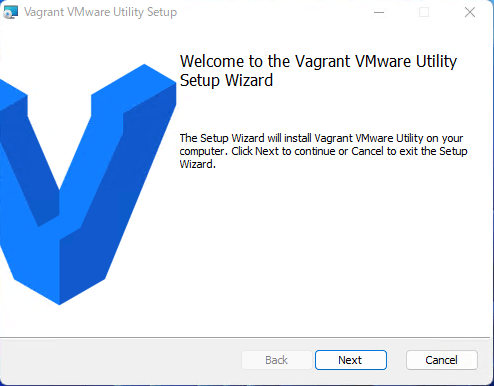
前項でダウンロードしたインストーラー「vagrant-vmware-utility_1.0.21_x86_64.msi」を実行します。
セットアップ画面が表示されるので、「Next」をクリックします。
ユーザーライセンスの承諾確認画面が表示されるので、
「I accept the terms in the License Agreement」にチェックを付けて「Next」をクリックします。

インストール先を設定する画面が表示されるので、今回はこのまま「Next」をクリックします。

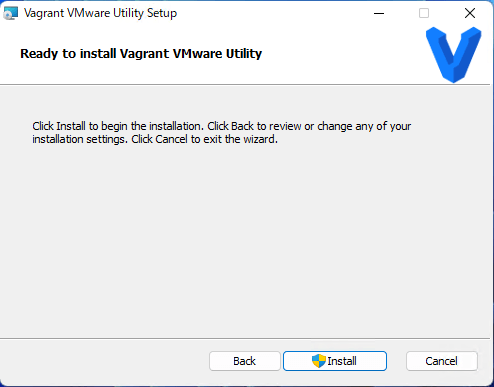
インストールを実行していいか確認する画面が表示されるので「Install」をクリックします。
*途中でユーザーアカウント制御が表示された場合は「はい」をクリックします。
インストール完了後は「Finish」をクリックします。
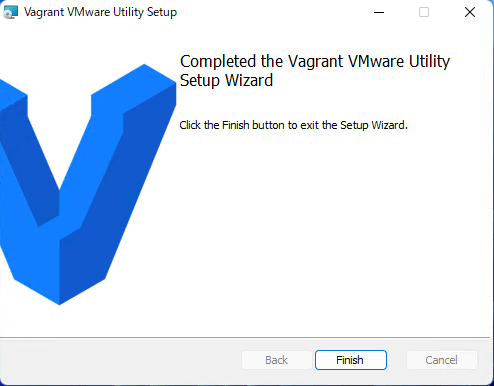
Vagrant VMware Utilityのインストール作業は以上となります。

コメント