

Windows10端末にpgAdmin4をインストールしたので、備忘録として手順を残しておきます。

インストーラーのダウンロード
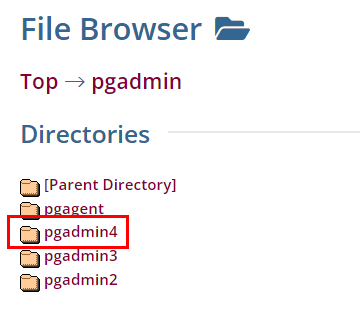
まずは、下記のPostgreSQLの公式サイトより、インストーラーをダウンロードします。

「pgadmin4」をクリックします。
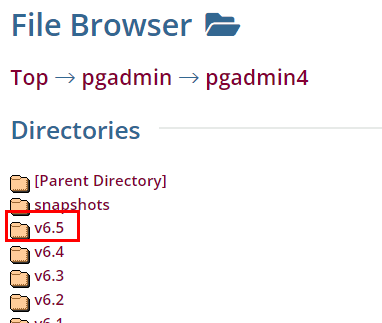
今回は最新の「v6.5」をクリックします。
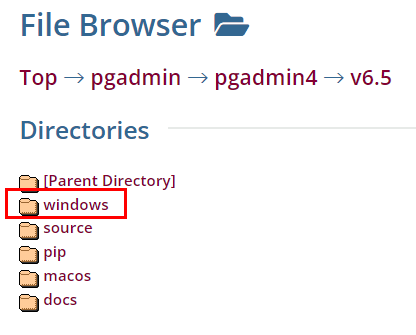
windows10にインストールするので「windows」をクリックします。
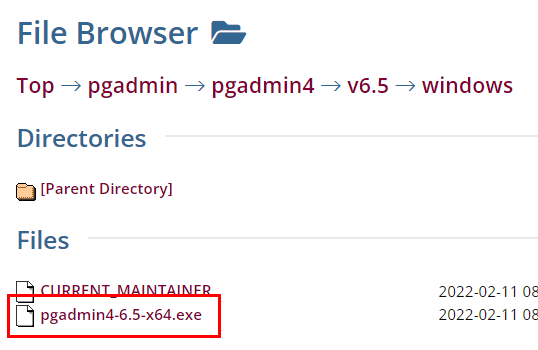
「pgadmin4-6.5-x64.exe」をクリックします。
(自動でダウンロードが開始されます。)
![]()
インストール
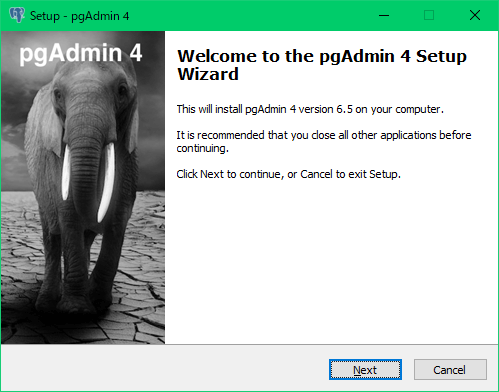
インストーラーを実行してインストールしていきます。
「pgadmin4-6.5-x64.exe」を実行します。
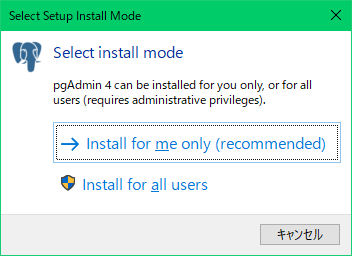
「Install for me only (recommended)」をクリックします。
「Next」をクリックします。
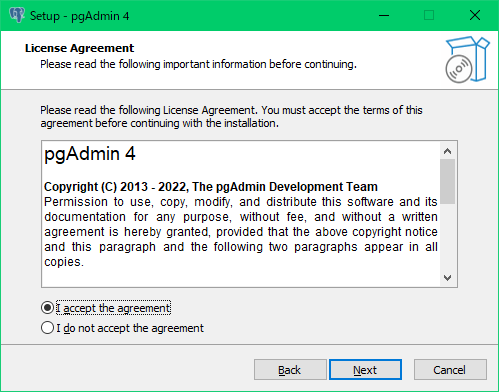
「I accept the agreement」にチェックを付けて、「Next」をクリック。
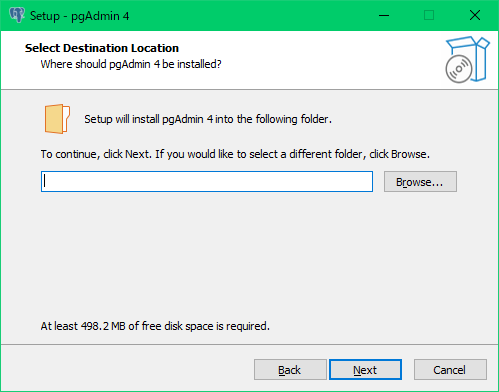
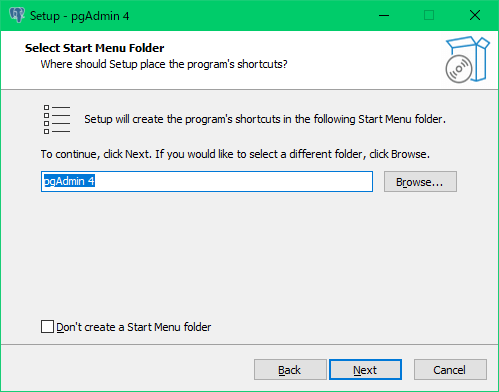
「Next」をクリックします。
「Next」をクリックします。
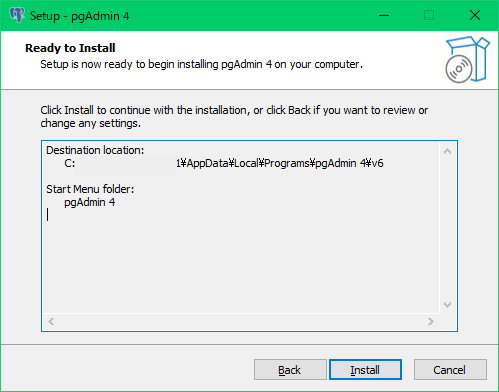
「Install」をクリックします。
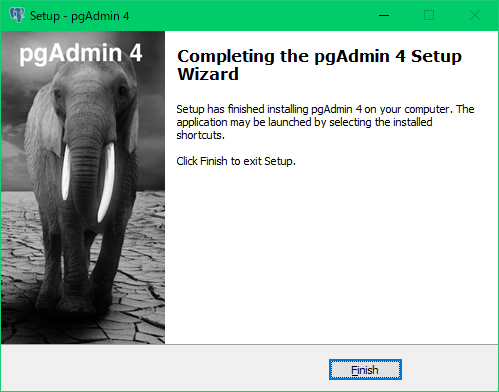
「Finish」をクリックして、インストールは完了です。
![]()
初期設定と接続確認
インストールした「pgAdmin 4 v6」を実行します。
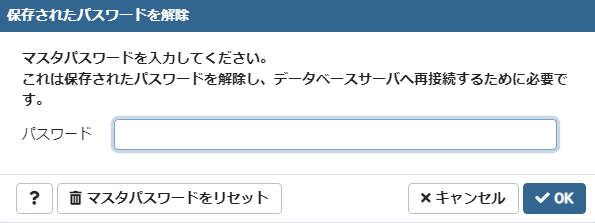
マスターパスワードの設定
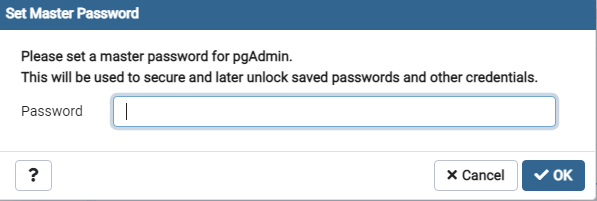
初回起動時はマスターパスワード(pgAdmin)を使用するためのパスワードを設定する必要がありますので、パスワードを入力して「OK」をクリックします。
![]()
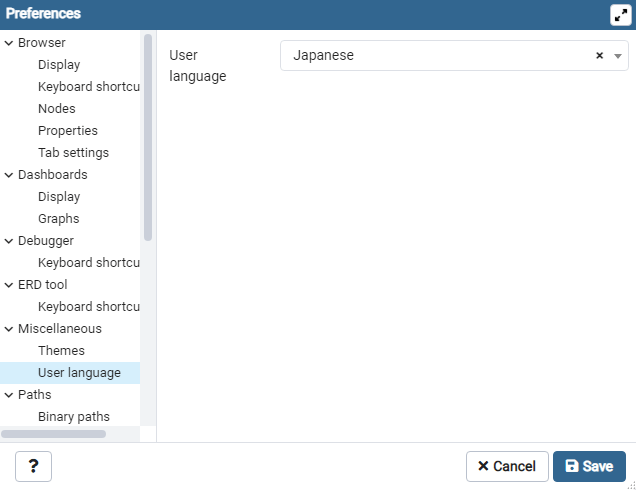
言語設定
まずは言語設定を「日本語」に設定します。
メニューバー「File」→「Preferences」をクリックします。
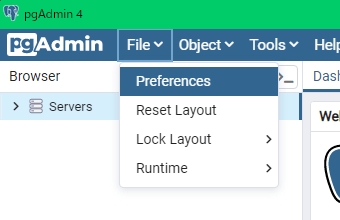
左側のメニューより「Miscellaneous」→「User language」をクリックします。
「User language」を「Japanese」に変更し、「Save」をクリックします。
pgAdminを再起動し、以下のように日本語で表示されれば設定は完了です。
![]()
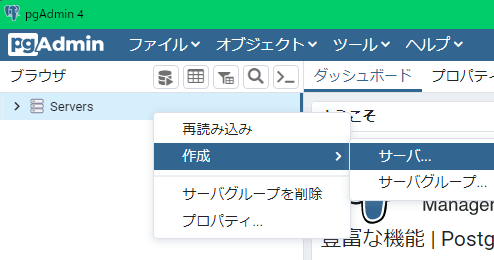
データベースへ接続
データベースへ接続するための設定を行います。
「Servers」を右クリックし「作成」→「サーバ」をクリックします。
「名前」を設定します。任意なので分かりやすいものを付けておけば問題ないです。

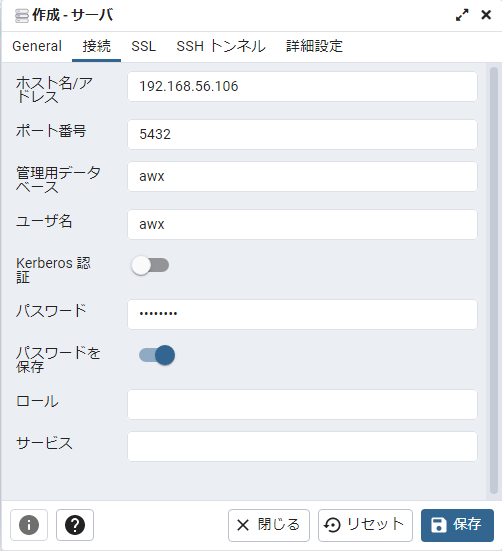
「接続」タブに切り替え、以下の項目を入力していきます。
入力後、「保存」をクリックします。
- ホスト名/アドレス:データベースサーバーのIPアドレスを入力
- ポート番号:データベースのポート番号を入力
- 管理用データベース:データベース名を入力
- ユーザー名:データベースに接続するためのユーザー名
- パスワード:データベースに接続するためのパスワード
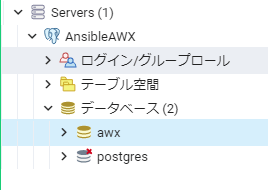
画像のように、データベースの階層を辿れれば接続に成功しています。
![]()
![]()


コメント